House projects

Wine Fridge

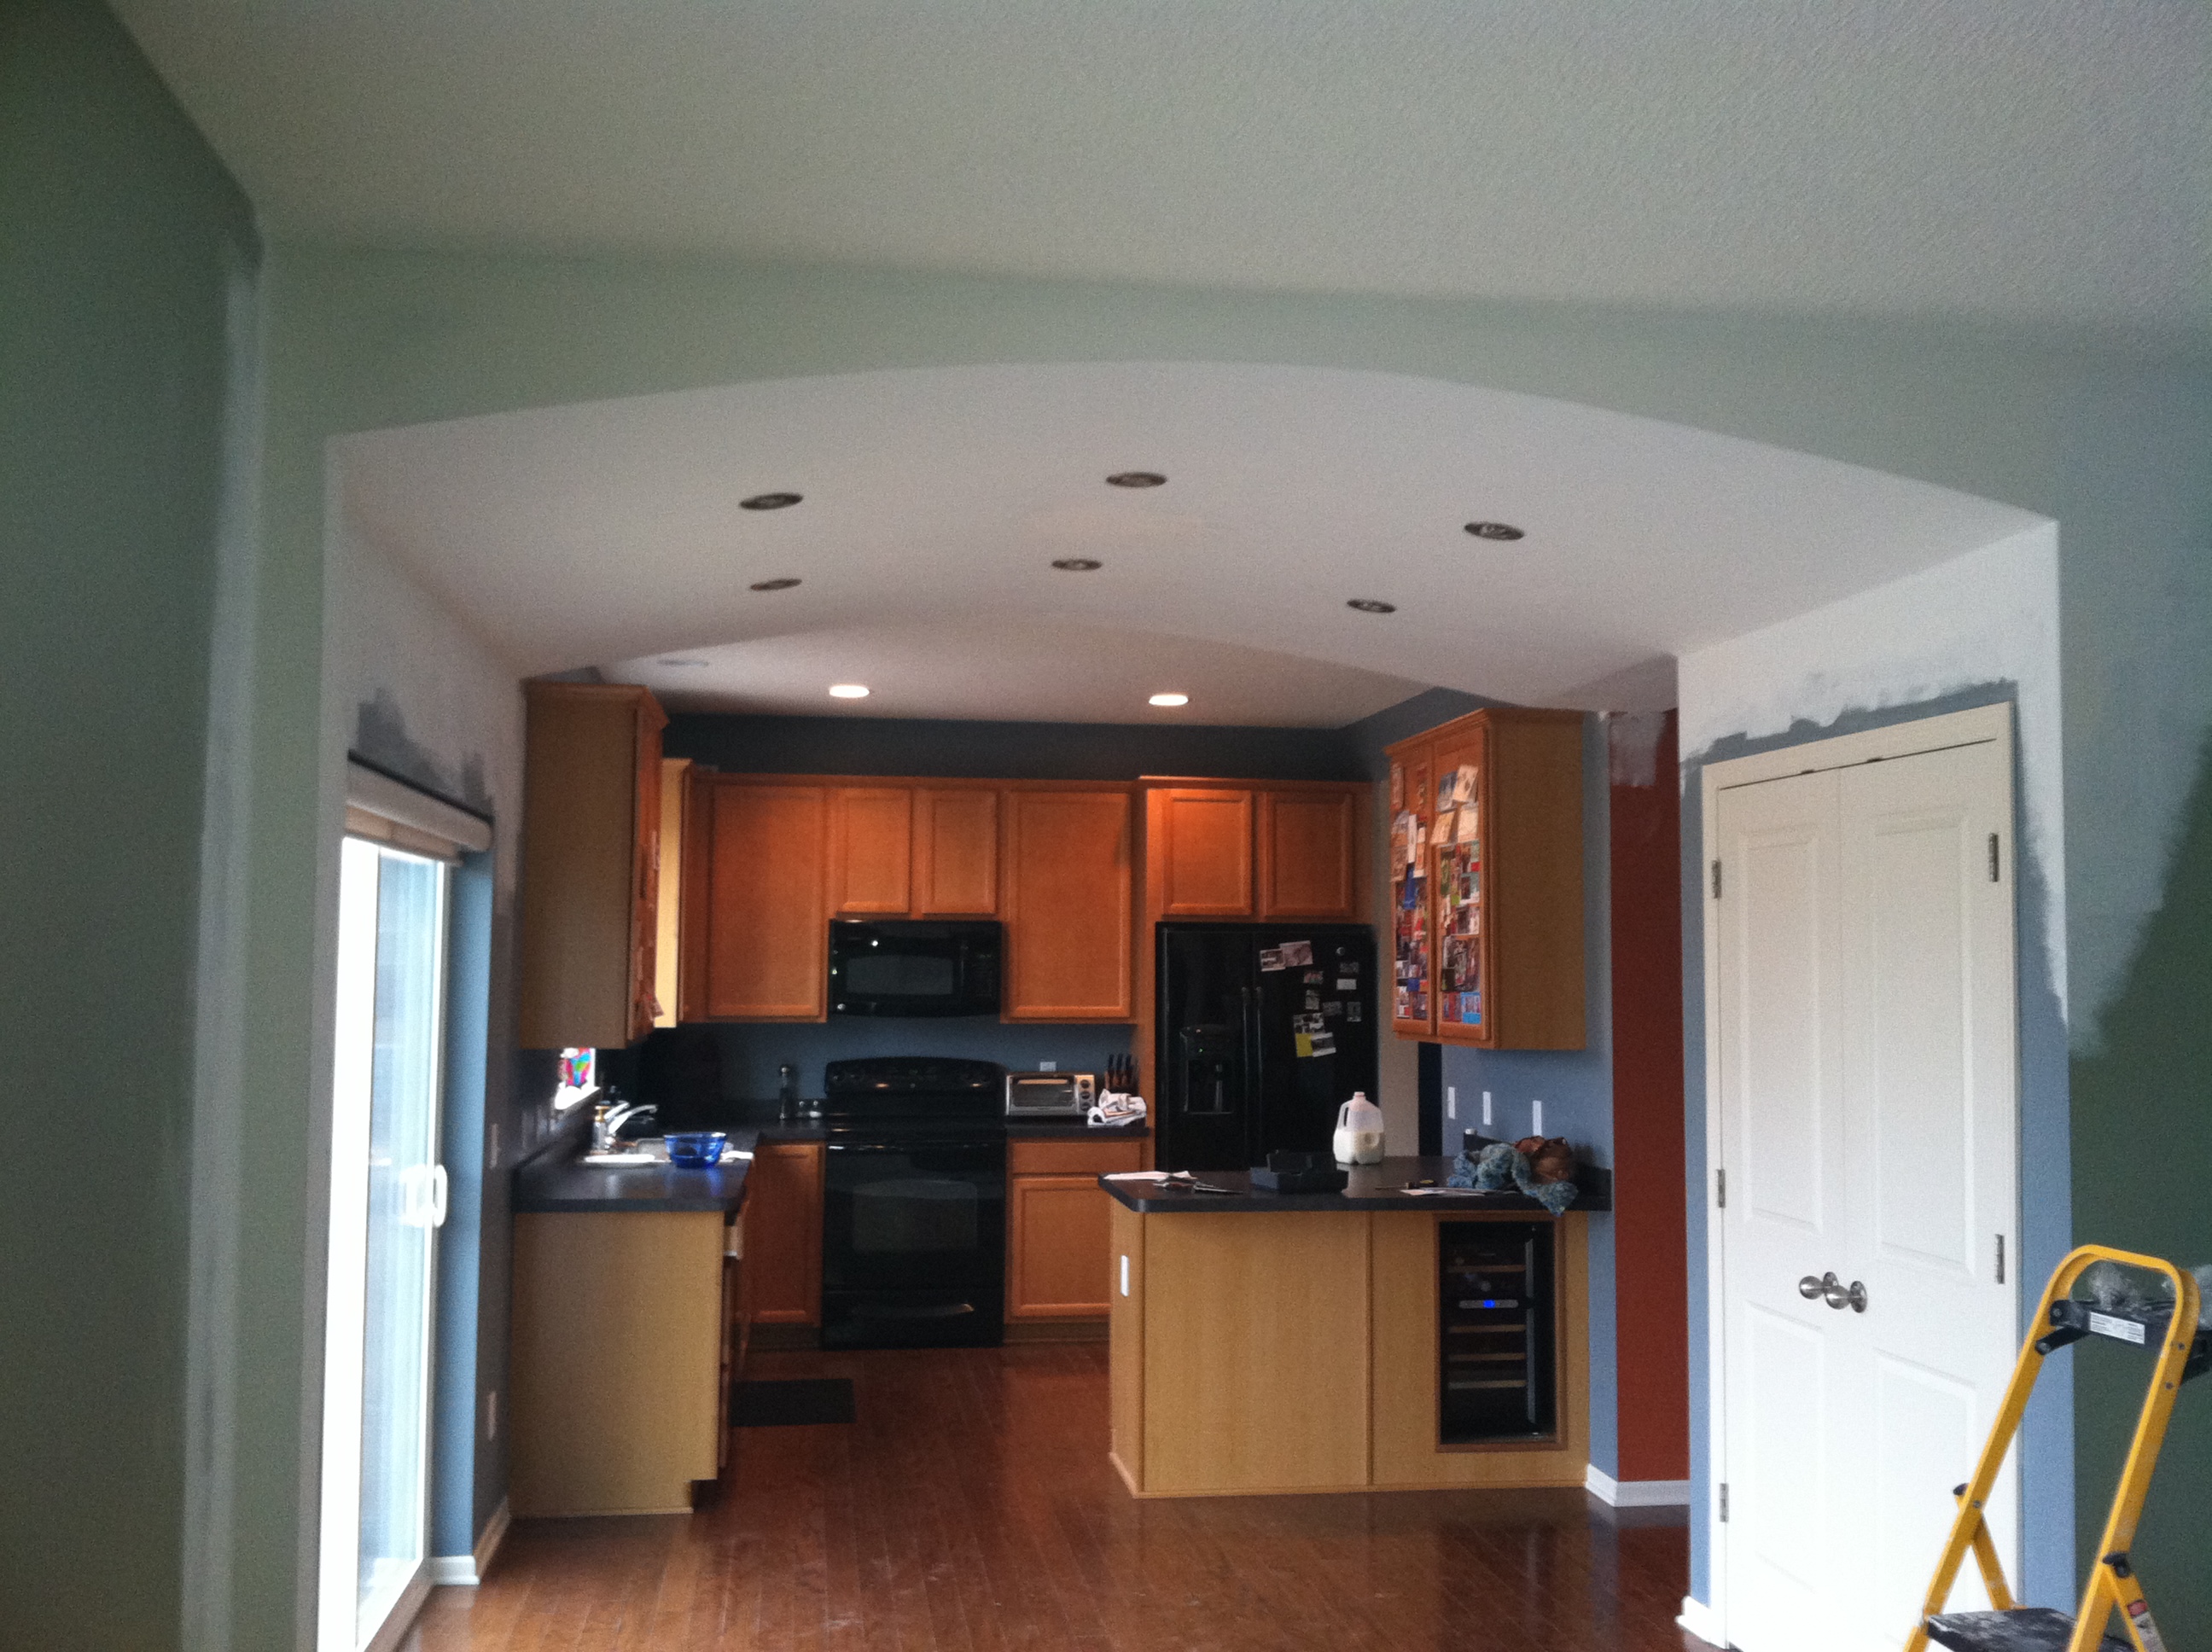
One of the very first projects the hubby did in the house was installing the wine fridge. You’ve got to have priorities right?? My parents had given us the wine fridge because they weren’t using it anywhere and we thought we could put it to good use. As we were moving it into the house, we contemplated putting it in a few different locations, and eventually found the perfect spot. The ‘island area’ in our kitchen is full of great storage, but there was one cupboard that was particularly dysfunctional.

The door opened with room to store things as normal, but then included a 90 degree angle that went back to the other side of the counter.

Referencing my mom’s kitchen I immediately thought to myself, oh you just store things back there that you never or just rarely use–which is so dumb cause why have it at all or you forget about it and then you never find a reason to use it.  So plan B was to put a door on the opposite side so it was easier to access. Then along came the genius hubby and suggested putting the wine fridge there. It made total sense to use that ‘dead’ space in a practical way.

So in the first week when we still had boxes everywhere, the hubby as the eager homeowner handyman installed the wine fridge. He measured out the space he would need, cut a whole into the cabinets and ran electrical into it (cause who wants cords all over their kitchen if they don’t need to). He even installed a switch within so we could easily turn it on and off without having to take the whole thing out to unplug or plug it in. Smart little guy he is! Finally, in went the fridge and up went the molding around it to finish it off. It was complete within a couple of hours. (I should also note: we were sure to include area on the sides top and back of the little nook for the fridge to vent. They get mighty hot when they’re running.)

House projects

25 Foot What?

After living in our house for a good year or so the hubby and I decided it was time to paint the living room/entry way of our house. At the time, the walls just had the construction paint on them which was a pretty boring color and they would get black smudge marks every time you touched them. Typically, I am the painter between the two of us, (I have a bit more patience for the tedious trim work) but we had this one little issue with the ceilings being 25 feet high, and having a staircase to go around! And me climbing up on a ladder extended to it’s full height was just not going to work so it was a joint effort project!

The ever important color selection

With other rooms in the house, we’ve been a bit more daring with color (we have more than 15 different colors!) but considering the 25 foot ceilings I knew I was only going to paint this room once and it needed to be a neutral color for resale, and anything else may be a bit too loud for such a large room. With that said, picking a neutral color is still not an easy task, I swear there are more than 200 different browns, creams, tans etc… and I probably had at least 50 of them at one point. The room was currently a creamy beige color and it was just a little to blah for me so that helped eliminate a lot of the colors. I also knew I wanted a really warm feeling in the room, so anything that had any hints of blue or green were out. Naturally I’m drawn to deeper and darker colors, and knew that I would be safe going a little bit darker because the room was so large it wouldn’t feel closed in. Eventually we landed on what I describe as a coco brown (exact color is Sherwin Williams Tiki Hut)

Painting Process

So if you’re wondering how the heck did you paint 25 foot ceilings, you’re not the only one. Almost everyone who comes over asks us. Thankfully, the hubby and I work well together and we developed a little process that worked and didn’t require us renting scaffolding. I painted all of the floor and doorway trim work and the ceilings that were accessible by a step ladder. Then, I began rolling as much wall as I could reach from standing on the floor. Somewhere in the process, the hubby brought in the extension ladder and began doing the trim work around the ceilings in the areas that I couldn’t reach. When he was ready to begin rolling the top parts of the walls, we screwed our broom handling into the bottom of the paint roller (which already had 2 extension handles on it–classy, I know!)I stayed on the floor and would roll the paint on and carefully extend the roller up to the hubby and he would roll away. We continued to repeat this process 100+ times. Slowly we moved ourselves across the room until we were left with two squares on the wall that the ladder was leaning against. They were up about 15 in the air so we brought in a traditional ladder and rolled the two final spots. And then we repeated the WHOLE process all over again for coat number two! Enjoy a few pics of the process:

Last wall to paint

Oh and it was blizzarding outside 🙂

Uncategorized

House Bananza

So I’m not as good at this blogging thing as I am at reading other people’s, or more recently Pinning. I had really great intentions of writing a couple times a week and even made a calendar of all my posts but to say work has been a little intense over the past couple of months is a complete understatement. In addition we’ve been BUSY BUSY BUSY with projects at the house. More to come on each of these but here is a taste of what’s been keeping us busy for the past couple weeks.

A little homemade stain glass action:

Image

Adding a little space definition and architectural elements to the eating areaImage

And a peak into our upcoming project involves this:

Image